
In some circumstances, adding an Amazon Echo to your home network can cause problems with your third-party AirPlay-capable devices -- particularly, it seems, with AV units such as networked amplifiers or home-theater receivers. More specifically, the addition of an Echo causes the AirPlay-capable devices to begin dropping off the network for between 10 and 15 seconds, seemingly at random. This can even happen when the devices are not actually using AirPlay. The brands that are most commonly reported as suffering from this problem are Pioneer, Denon, and Yamaha, but the issue has been known to affect other receivers, too. Thus far, there have been no reports of the problem affecting Apple's own AirPlay-capable products.
Although it seems at first as if the problem occurs randomly, there is actually a trigger: The Echo's device-search process. From time to time, the Echo will automatically scan your network for new smart devices (it can also be forced to do this from within the Alexa app), and, when it does, it sends out certain packets that, for some reason, briefly knock certain AirPlay-capable devices off your network. This guide will explain how you can first diagnose this problem, and then prevent it from happening in the future.
Make sure that the Echo is the culprit
Before we take any action, we should watch the problem occur in real-time to ensure that it is the Echo, and not something else, that is to blame for the outages. To do this, you will need:
- A computer on the same network as both the Echo and the receiver
- Access to the Alexa app on your mobile device
- The IP address of the receiver that is dropping offline
- The IP address of your Echo
Set up a ping
Open a terminal window on your computer, and type the word ping followed by the IP address of the receiver that is experiencing the problem. Assuming that your receiver is at 10.0.1.65, you would type:
ping 10.0.1.65
You should see the receiver respond to the requests every half-second or so:
PING 10.0.1.65 (10.0.1.65): 56 data bytes
64 bytes from 10.0.1.65: icmp_seq=0 ttl=128 time=3.847 ms
64 bytes from 10.0.1.65: icmp_seq=1 ttl=128 time=2.279 ms
64 bytes from 10.0.1.65: icmp_seq=2 ttl=128 time=3.335 ms
64 bytes from 10.0.1.65: icmp_seq=3 ttl=128 time=1.464 ms
64 bytes from 10.0.1.65: icmp_seq=4 ttl=128 time=3.419 ms
64 bytes from 10.0.1.65: icmp_seq=5 ttl=128 time=3.748 ms
64 bytes from 10.0.1.65: icmp_seq=6 ttl=128 time=3.180 ms
64 bytes from 10.0.1.65: icmp_seq=7 ttl=128 time=3.021 ms
64 bytes from 10.0.1.65: icmp_seq=8 ttl=128 time=2.119 ms
64 bytes from 10.0.1.65: icmp_seq=9 ttl=128 time=2.601 ms
64 bytes from 10.0.1.65: icmp_seq=10 ttl=128 time=2.581 ms
64 bytes from 10.0.1.65: icmp_seq=11 ttl=128 time=3.424 ms
64 bytes from 10.0.1.65: icmp_seq=12 ttl=128 time=2.800 ms
64 bytes from 10.0.1.65: icmp_seq=13 ttl=128 time=4.461 ms
Run a network scan on the Echo
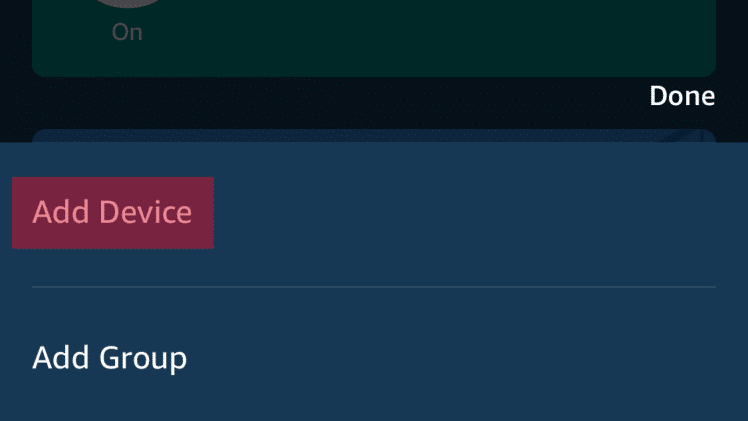
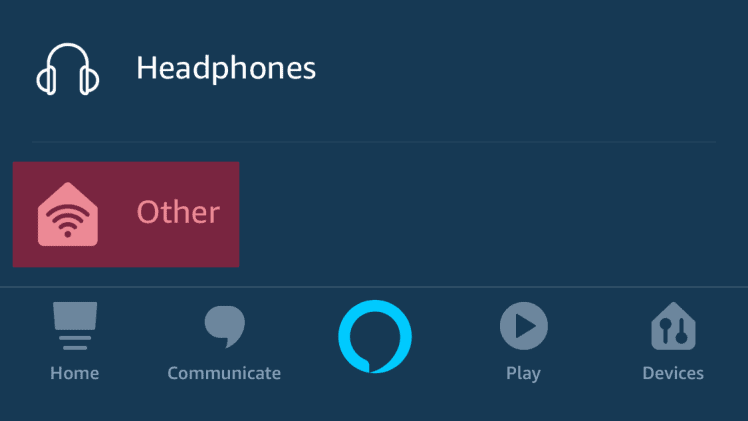
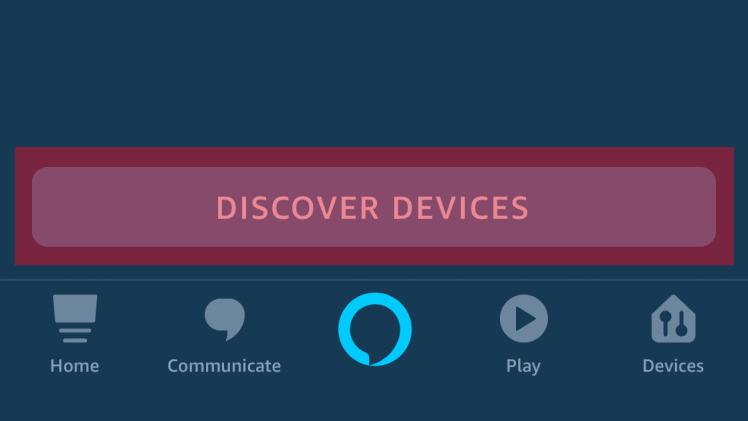
With the ping still running on your computer, open the Alexa app on your mobile device, and navigate to the Discover Devices option. You will find this via Devices → Add Device → Other → Discover Devices.
Check to see if the receiver drops offline
Once you hit Discover Devices, watch the pings from the receiver. If the Echo is the culprit, you should see the receiver drop off the network. That will look like this:
64 bytes from 10.0.1.65: icmp_seq=9 ttl=128 time=2.601 ms
64 bytes from 10.0.1.65: icmp_seq=10 ttl=128 time=2.581 ms
64 bytes from 10.0.1.65: icmp_seq=11 ttl=128 time=3.424 ms
64 bytes from 10.0.1.65: icmp_seq=12 ttl=128 time=2.800 ms
64 bytes from 10.0.1.65: icmp_seq=13 ttl=128 time=4.461 ms
Request timeout for icmp_seq 14
Request timeout for icmp_seq 15
Request timeout for icmp_seq 16
Request timeout for icmp_seq 17
Request timeout for icmp_seq 18
If you see the above, you’ve found the problem. Next, we’ll fix it.
Buy a Managed Switch
Annoyingly, the only way of fixing this issue is with hardware. Specifically, you will need a managed switch that can block specific traffic (in this case, UDP17 traffic) from reaching the receiver. You can use any managed switch that has the ability to block UDP traffic by its source IP, but for the sake of this guide we will be using the Netgear GS108T (ADD LINK).
Ensure that your Echo is using a static IP address
Before you configure your managed switch, you will need to ensure that your Echo devices are using static IP addresses. If you do not know how to do this, please read our DHCP guide. Make sure that you write down the IP address of your Echo, and have it handy.
Physically add the switch to your network
You will be placing the managed switch between the rest of your network and the receiver that is dropping off. In this example, we will connect the cable from the existing network to the managed switch’s Port 1, and the cable from the receiver to the managed switch on any of the other ports.
IMAGE?
Create a new IP-based Access Control List
Log into your Netgear GS108T and navigate to the advanced ACL page. You will find this by going to Security → ACL → Advanced.

Add a new IP ACL by clicking on IP ACL, checking the box under IP ACL Table, entering the number 100 in the IP ACL ID field, and then clicking ADD.

Add a rule to block UDP17 traffic coming from your Echo
Next, click on IP Extended Rules. Ensure that the number 100 is selected in the dropdown list to the right of ACL ID.

Click ADD.
In the form that loads, fill in the variables as such:
ACL IDshould be100Rule IDcan be any number between1and10Actionshould readDenyMatch Everyshould readFalseProtocol Typeshould read bothUDPand17Src IP Addressshould be the IP address of your Echo. For the purposes of this example, the Echo‘s IP address is at10.0.1.90Src IP Maskshould be0.0.0.0
When you’re finished, your form should look like this:

Click APPLY.
Add a rule to allow all other traffic into the switch
Next, we need to permit all other traffic to enter the switch, and thus to reach the receiver. To do this, navigate back to IP Extended Rules. Ensure that the number 100 is selected in the dropdown list to the right of ACL ID, then click ADD.
In the form that loads, fill in the variables to create the rule:
- The
ACL IDshould be100 - The
Rule IDcan be any number between2and10 Actionshould readPermit

Click APPLY.
When finished, your IP Extended Rules page should look like this:

Bind the Access Control List to Port 1
If it does, navigate to IP Binding Configuration and assign the rule you just created to Port 1. Then click Apply.
This should block all UDP17 traffic from your Echo from entering the managed switch, and thus from reaching the receiver.

When done, your IP Binding Configurationpage should look like this:

Your Echo will no longer be able to knock off your AirPlay-capable devices.
Multiple Echo devices
This should go without saying, but if you have more than one Echo, follow the above instructions for each of them.